WinMode: Every Feature Explained
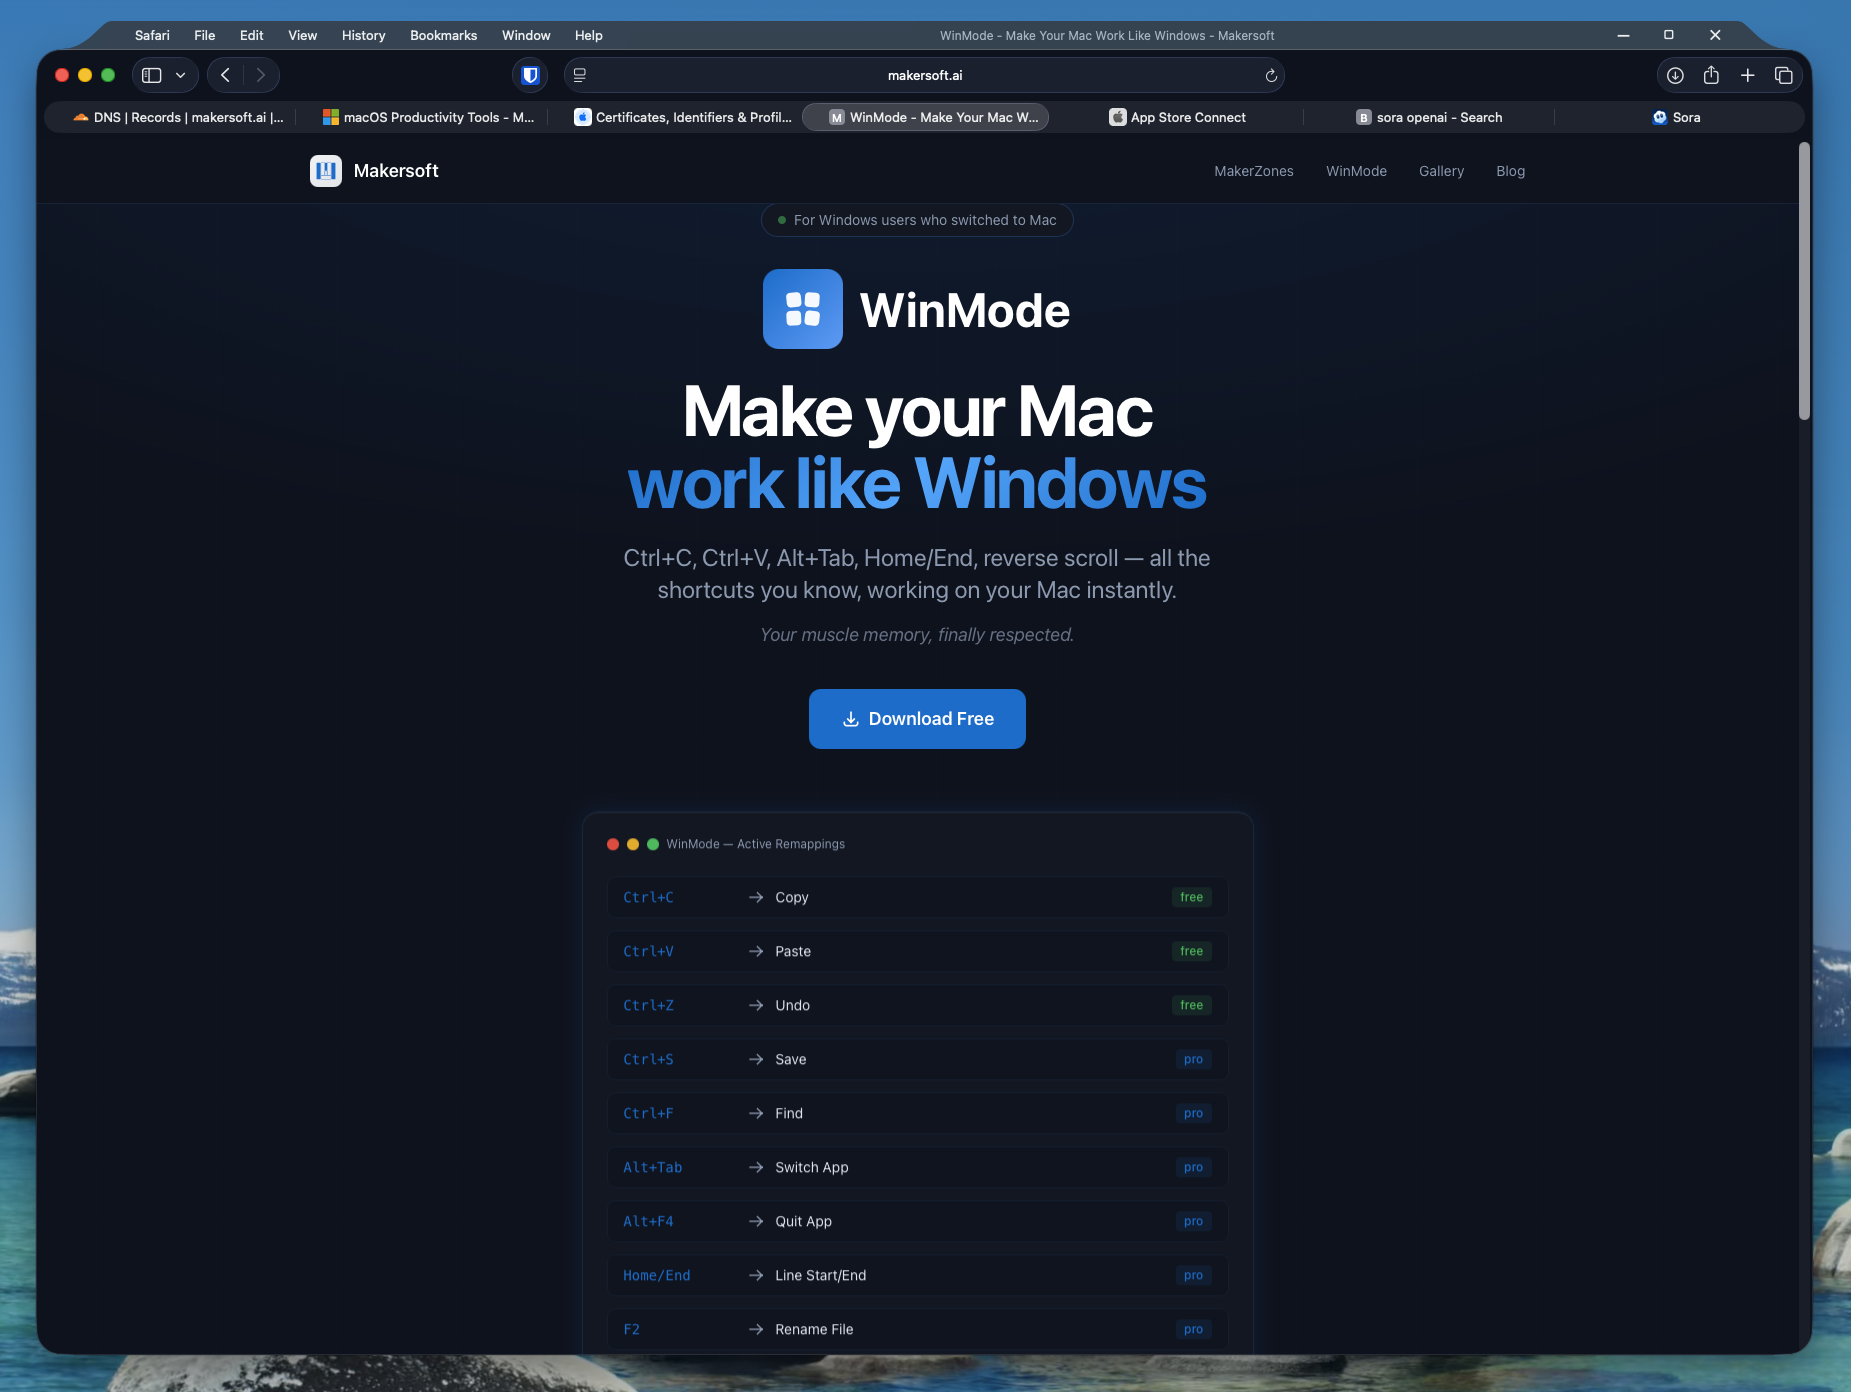
WinMode makes your Mac keyboard work like Windows. It remaps 47 shortcuts, fixes scroll direction, adds proper Alt+Tab switching, puts the menu bar where it belongs, and brings Windows-style taskbar previews to the Dock. This article covers every feature in detail so you know exactly what you are getting.
In this article
- Clipboard Shortcuts -- Copy, cut, paste
- Editing Shortcuts -- Undo, redo, save, find, and more
- Navigation Keys -- Home, End, word jumping
- Alt+Tab App Switching -- True Windows-style app switcher
- System Shortcuts -- Alt+F4, F2 rename, F5 refresh
- Reverse Scroll -- Fix "natural scrolling"
- Per-Window Menu Bar -- Menus where they belong
- Per-App Exclusions -- Disable for specific apps
- Double-Click Maximize -- Title bar double-click to maximize
- Dock Window Preview -- Taskbar-style live thumbnails
- Custom Remappings -- Add your own shortcuts
- Import & Export -- Back up and share settings
- Getting Started -- Installation and setup
Clipboard Shortcuts
The most fundamental shortcuts. On Windows, clipboard operations use the Ctrl key. On Mac, they use the Cmd key. WinMode intercepts your Ctrl presses and translates them to Cmd so the right action happens.
| You press | Without WinMode | With WinMode |
|---|---|---|
| Ctrl+C | Nothing (or sends interrupt in Terminal) | Copies selected text/files |
| Ctrl+X | Nothing | Cuts selected text/files |
| Ctrl+V | Nothing | Pastes from clipboard |
This works in every app -- browsers, text editors, Finder, Slack, everything. WinMode operates at the system level, so it does not matter what app is in the foreground.
Editing Shortcuts
Beyond clipboard basics, Windows has a consistent set of Ctrl-based editing shortcuts. WinMode remaps all of them.
| You press | Action | Mac equivalent |
|---|---|---|
| Ctrl+Z | Undo | Cmd+Z |
| Ctrl+Y | Redo | Cmd+Shift+Z |
| Ctrl+A | Select all | Cmd+A |
| Ctrl+S | Save | Cmd+S |
| Ctrl+F | Find | Cmd+F |
| Ctrl+N | New window/document | Cmd+N |
| Ctrl+W | Close tab/window | Cmd+W |
| Ctrl+T | New tab | Cmd+T |
| Ctrl+Shift+T | Reopen closed tab | Cmd+Shift+T |
| Ctrl+H | Find & Replace | Cmd+H |
| Ctrl+P | Cmd+P | |
| Ctrl+O | Open file | Cmd+O |
| Ctrl+L | Address bar / Go to line | Cmd+L |
| Ctrl+Shift+N | New folder / Incognito window | Cmd+Shift+N |
| Ctrl+Shift+P | Command palette / Private window | Cmd+Shift+P |
| Ctrl+` | Clipboard search | Cmd+Shift+V |
| Ctrl+Backspace | Delete word backward | Opt+Delete |
| Ctrl+Delete | Delete word forward | Opt+Fn+Delete |
Notice Ctrl+Y for redo. On Mac, redo is Cmd+Shift+Z -- a two-modifier shortcut. WinMode maps Ctrl+Y to the correct Mac action so you do not have to remember the different key combination.
Navigation Keys
This is one of the most disorienting differences between Windows and Mac. On Windows, the Home key moves the cursor to the beginning of the current line. On Mac, it scrolls to the top of the document. Completely different behavior for the same key.
WinMode fixes all navigation keys to behave like Windows:
| You press | Windows behavior (restored) |
|---|---|
| Home | Move cursor to beginning of line |
| End | Move cursor to end of line |
| Ctrl+Left Arrow | Move cursor one word left |
| Ctrl+Right Arrow | Move cursor one word right |
| Ctrl+Home | Move cursor to beginning of document |
| Ctrl+End | Move cursor to end of document |
| Shift+Home | Select from cursor to beginning of line |
| Shift+End | Select from cursor to end of line |
| Ctrl+Shift+Left | Select one word to the left |
| Ctrl+Shift+Right | Select one word to the right |
| Ctrl+Shift+Home | Select from cursor to beginning of document |
| Ctrl+Shift+End | Select from cursor to end of document |
Every navigation key works with selection modifiers. Shift+Home selects from the cursor to the beginning of the line, Ctrl+Shift+Arrow selects word by word, and Ctrl+Shift+Home/End selects to the start or end of the document. The full set of 12 navigation shortcuts behaves exactly as you expect from Windows.
Alt+Tab App Switching
macOS has Cmd+Tab for app switching, but it behaves differently from Windows Alt+Tab in a few important ways. Most notably, Cmd+Tab shows applications, not windows. If you have three Safari windows open, Cmd+Tab shows Safari once -- it does not let you pick which window you want.
WinMode implements a proper Alt+Tab app switcher with the full Windows-style state machine:
How it works
- Hold Alt (the Option key on Mac keyboards) to activate the switcher
- Tap Tab to cycle forward through apps
- Tap Shift+Tab to cycle backward
- Release Alt to switch to the highlighted app
The key detail is "release to switch." On Windows, Alt+Tab is a modal interaction -- you hold Alt, navigate with Tab, and the switch only happens when you let go of Alt. WinMode replicates this exact behavior using a state machine that tracks key-down and key-up events. It is not a simple shortcut remap; it is a full reimplementation of the Windows Alt+Tab interaction model.
System Shortcuts
Windows has a set of system-level shortcuts that do not have direct equivalents on macOS. WinMode maps them to the closest Mac action:
| You press | Action | What happens on Mac |
|---|---|---|
| Alt+F4 | Quit application | Sends Cmd+Q |
| F2 | Rename selected file | Sends Enter (Finder rename) |
| F5 | Refresh page | Sends Cmd+R |
| Win+L | Lock screen | Sends Ctrl+Cmd+Q |
| Win+D | Show desktop | Triggers Mission Control desktop |
| Win+E | Open File Explorer | Opens a new Finder window |
| Win key (tap) | Open Start menu search | Opens Spotlight (Cmd+Space) |
| Print Screen | Take screenshot (crosshair selection) | Sends Cmd+Shift+4 |
| Ctrl+Shift+Esc | Open Task Manager | Opens Force Quit dialog (Cmd+Opt+Esc) |
| Alt+Enter | File properties | Opens Get Info (Cmd+I) |
| Shift+Delete | Forward delete | Sends Forward Delete key |
The F2 rename shortcut is a good example of a subtle but important difference. On Windows, you select a file and press F2 to rename it. On Mac, you press Enter (which on Windows would open the file). WinMode intercepts F2 in Finder and sends the correct key. It does not remap F2 globally -- that would break other apps. Context-aware behavior like this is applied where it makes sense.
Reverse Scroll
macOS uses "natural scrolling" by default -- swipe up on the trackpad to scroll down, like pushing content up with your finger. This makes sense on a phone, but on a computer with a mouse or trackpad, it is the opposite of what Windows users expect.
WinMode includes a one-toggle option to reverse scroll direction. Scroll down to go down, scroll up to go up. The way it works on every other desktop operating system.
You can change this in System Settings without WinMode, but there is a catch: macOS applies the scroll direction globally to both the trackpad and external mice. If you change it for one, you change it for both. WinMode can handle this more gracefully depending on your input devices.
Per-Window Menu Bar
One of the most jarring differences between Windows and Mac is where the menu bar lives. On Windows, each window has its own menu bar -- File, Edit, View, and so on, right at the top of the window. On Mac, the menu bar is fixed to the top of the screen, and it changes based on which app is in the foreground.
The Mac approach means the menu bar can be far away from the window you are working in, especially on large monitors. If your active window is in the bottom-right corner of a 32-inch display, the menu bar is a long mouse journey to the top-left.
WinMode adds a per-window menu bar at the top of each window, giving you Windows-style access to File, Edit, View, and other menus right where the window is. It also adds Windows-style close, minimize, and maximize buttons to the right side of the title bar.
Before — macOS default
After — WinMode Pro
Safari with per-window menus and Windows-style controls
Per-App Exclusions
Not every app needs WinMode. Some apps -- particularly terminals, IDEs, and code editors -- have their own keyboard shortcut systems that use Ctrl intentionally. You do not want WinMode intercepting Ctrl+C in Terminal (where it sends an interrupt signal) or in VS Code (which has its own Ctrl-based shortcuts on Mac).
WinMode lets you exclude specific apps from remapping. When an excluded app is in the foreground, WinMode steps aside and lets all keys pass through unmodified. This is configured from the menu bar icon -- click it, go to exclusions, and add any app you want.
You can also toggle individual shortcut categories on and off. Want the clipboard remapping but not the navigation key changes? Disable the navigation category and keep everything else. Every shortcut group -- clipboard, editing, navigation, system -- is independently toggleable.
Common exclusions
- Terminal / iTerm2 -- Ctrl+C is interrupt, Ctrl+Z is suspend, Ctrl+D is EOF
- VS Code -- Has its own cross-platform shortcuts that already use Cmd on Mac
- IntelliJ / JetBrains IDEs -- Offer their own Windows keymap option
- Virtual machines (Parallels, VMware) -- Pass shortcuts directly to the guest OS
Option/Cmd Key Swap
On a Windows keyboard, the key positions from left to right are: Ctrl, Win, Alt. On a Mac keyboard, they are: Control, Option, Command. The physical position of Alt on a PC keyboard corresponds to Command on a Mac keyboard, not Option. This means the "Cmd" key is where your fingers expect "Alt" to be.
WinMode can swap the Option and Command keys so that the key in the Alt position behaves like Alt. This is especially useful if you are using a Windows keyboard with your Mac (via USB or Bluetooth), since the physical labels will then match the behavior.
Double-Click Title Bar Maximize
On Windows, double-clicking a window's title bar maximizes it to fill the screen. Double-click again to restore it. On macOS, double-clicking the title bar does something completely different -- it minimizes the window to the Dock (or zooms, depending on your system setting). Neither behavior matches Windows.
WinMode intercepts double-clicks on title bars and triggers a proper maximize instead. The window fills the full screen without entering macOS full-screen mode (no separate Space, no animation). Double-click again to restore the previous size and position. This is the exact Windows behavior: maximize, restore, maximize, restore.
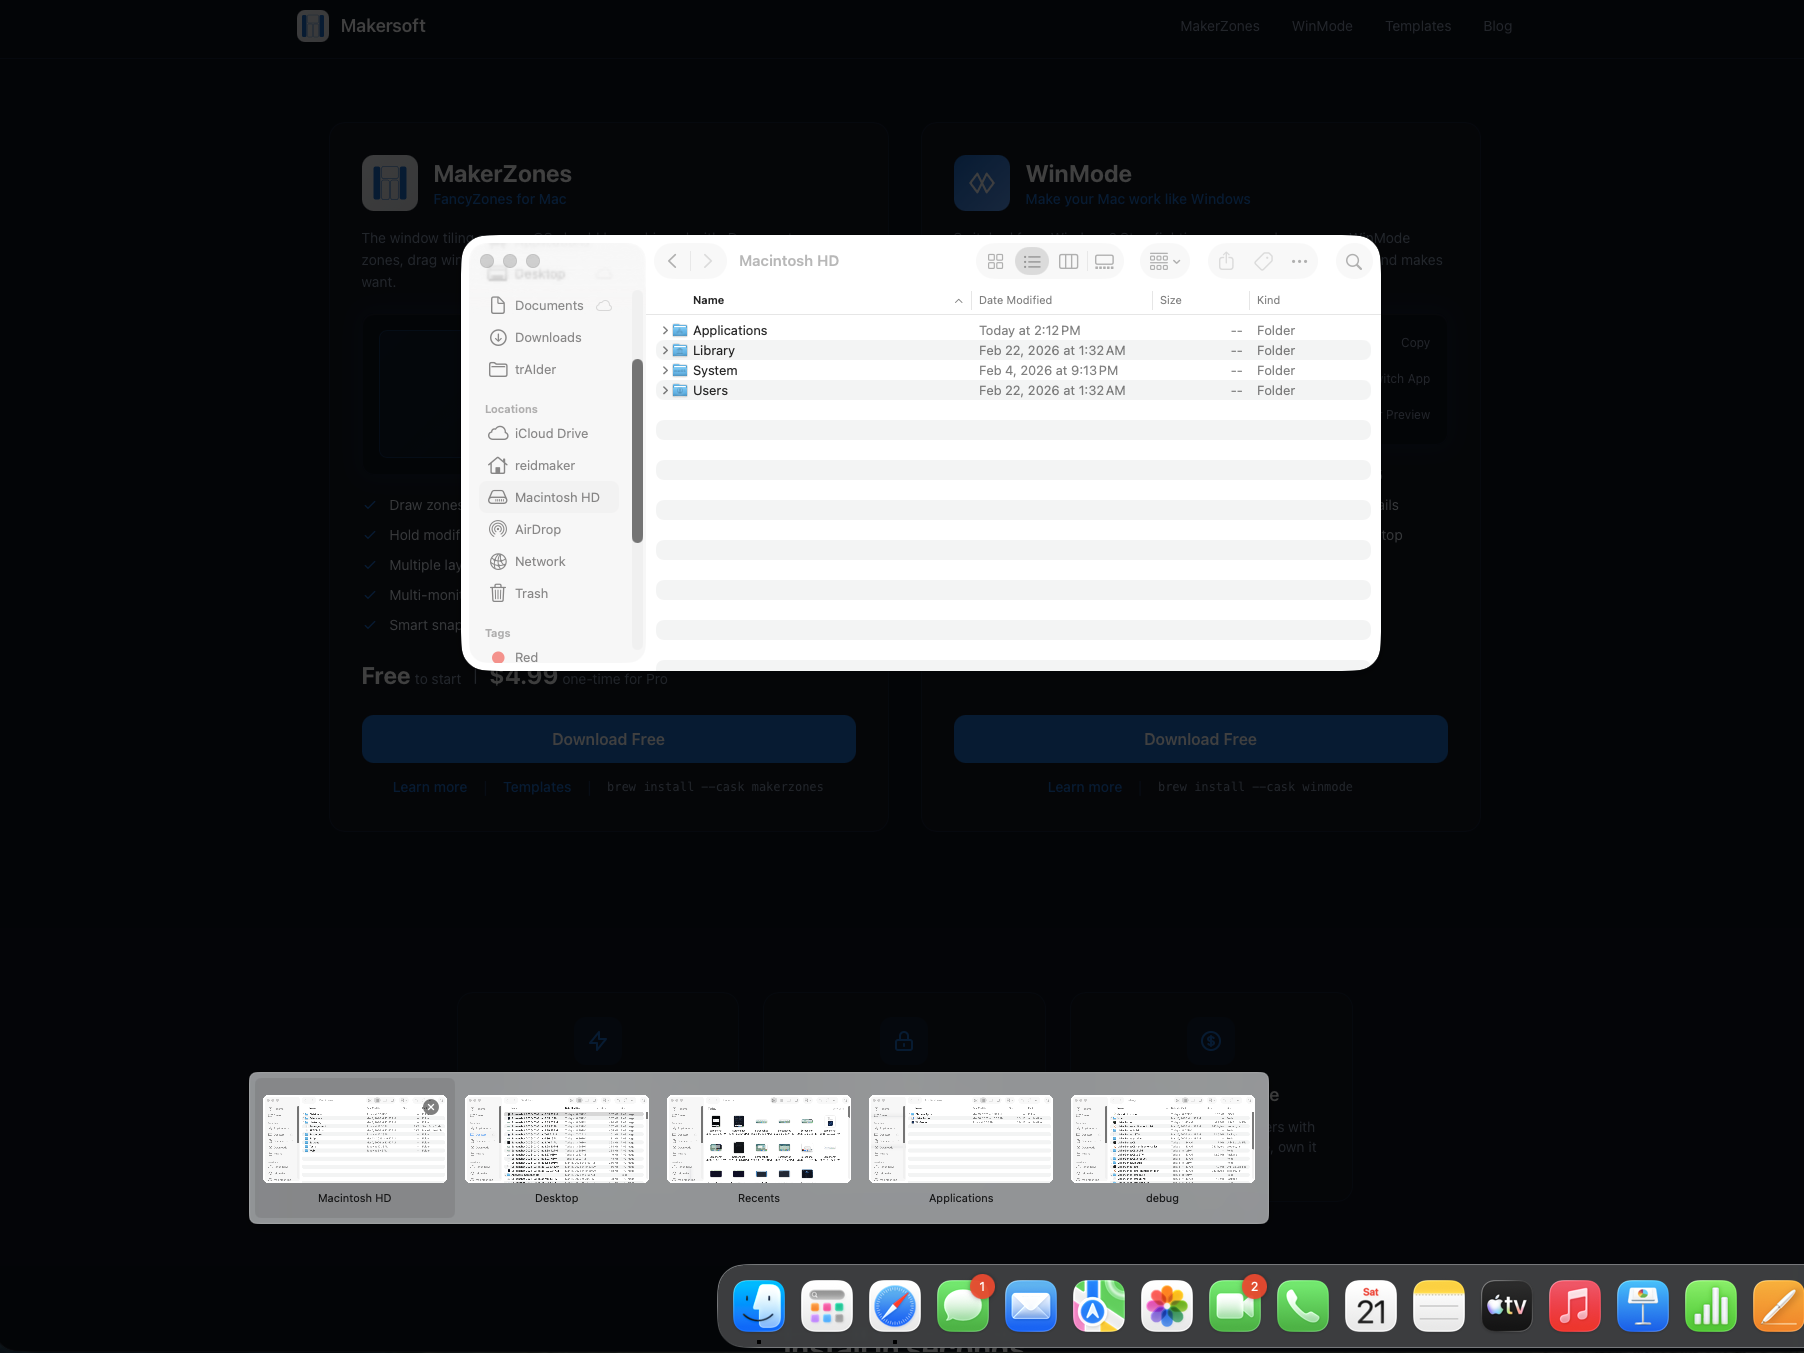
Dock Window Preview
On Windows, hovering over a taskbar icon shows you live thumbnail previews of every open window for that app. You can see exactly what is in each window before clicking. On macOS, hovering over a Dock icon shows you... the app name. That is it.
WinMode brings full Windows-style taskbar previews to the macOS Dock. Hover over any Dock icon and a panel appears with live thumbnails of every open window for that app. If Safari has five tabs open in separate windows, you see all five. If Finder has three windows, you see all three.
Taskbar-style window thumbnails
Desktop Peek
What you can do
- Click a thumbnail to switch to that window immediately
- Click the X button on a thumbnail to close that window without switching
- Hover over a thumbnail for 300ms to activate Desktop Peek -- all other windows fade away, showing you exactly where that window sits on your desktop
- Move between thumbnails to peek at different windows instantly
This works with every app -- Safari, Finder, Terminal, VS Code, anything that has open windows. The thumbnails are live screenshots, not static icons, so you can actually see the content of each window before you switch.
Custom Remappings
WinMode ships with 47 built-in remappings that cover the most common Windows shortcuts. But if you have a shortcut that is not in the default set, you can add your own. Custom remappings let you define any key combination and map it to any other key combination.
Open WinMode settings, go to the Remappings tab, and click the add button. Pick your source shortcut (what you want to press), pick the target shortcut (what it should do on Mac), and you are done. WinMode treats your custom remappings exactly like the built-in ones -- they respect per-app exclusions and can be individually toggled on and off.
You can also edit or delete custom remappings at any time. The built-in 47 remappings cannot be deleted (only toggled), but custom ones are fully yours to manage.
Import & Export Settings
Once you have WinMode configured the way you like it -- your custom remappings, exclusion list, toggle preferences -- you can export the entire configuration to a file. This is useful for backing up your settings, moving to a new Mac, or sharing your setup with colleagues.
Import works the same way in reverse. Open WinMode settings, click Import, select a settings file, and everything is restored -- all remappings, exclusions, and preferences. No need to reconfigure from scratch.
Getting Started
WinMode is free to start with clipboard shortcuts (Ctrl+C/X/V) and undo (Ctrl+Z). Upgrade to Pro for $4.99 one-time to unlock all 47 shortcuts, Alt+Tab, reverse scroll, per-window menu bars, Dock window previews, double-click maximize, custom remappings, and more. No ads, no subscriptions. You can also share WinMode with 5 friends to unlock Pro for free.
Step 1: Install
The fastest way to install is through Homebrew:
brew install makersoft-ai/apps/winmode
If you do not use Homebrew, you can download WinMode directly from the WinMode page.
Step 2: Grant Accessibility Access
The first time you launch WinMode, macOS will ask you to grant Accessibility permissions. This is required because WinMode intercepts keyboard events at the system level -- it is the same permission that every keyboard remapping tool needs (Karabiner, BetterTouchTool, etc.).
Go to System Settings → Privacy & Security → Accessibility and enable WinMode. You may need to unlock the settings with your password first.
Step 3: Start Using Your Shortcuts
That is it. Once Accessibility access is granted, WinMode activates automatically. All 47 shortcuts are enabled by default. Press Ctrl+C to copy, Ctrl+V to paste, Alt+Tab to switch apps -- everything works immediately.
WinMode runs in your menu bar. Click the icon to see the status, toggle shortcut categories, manage app exclusions, or configure reverse scroll. It uses minimal system resources and starts automatically when you log in.
Step 4 (Optional): Customize
Most people never need to change anything. But if you want to fine-tune, here is what you can adjust:
- Toggle individual shortcut categories (clipboard, editing, navigation, system)
- Add app exclusions for terminals, IDEs, or VMs
- Enable or disable reverse scroll
- Swap Option and Command key positions
- Enable or disable per-window menu bars
- Enable or disable double-click title bar maximize
- Enable or disable Dock window previews
- Add, edit, or delete custom keyboard remappings
- Import or export your entire configuration
- Choose whether WinMode starts at login
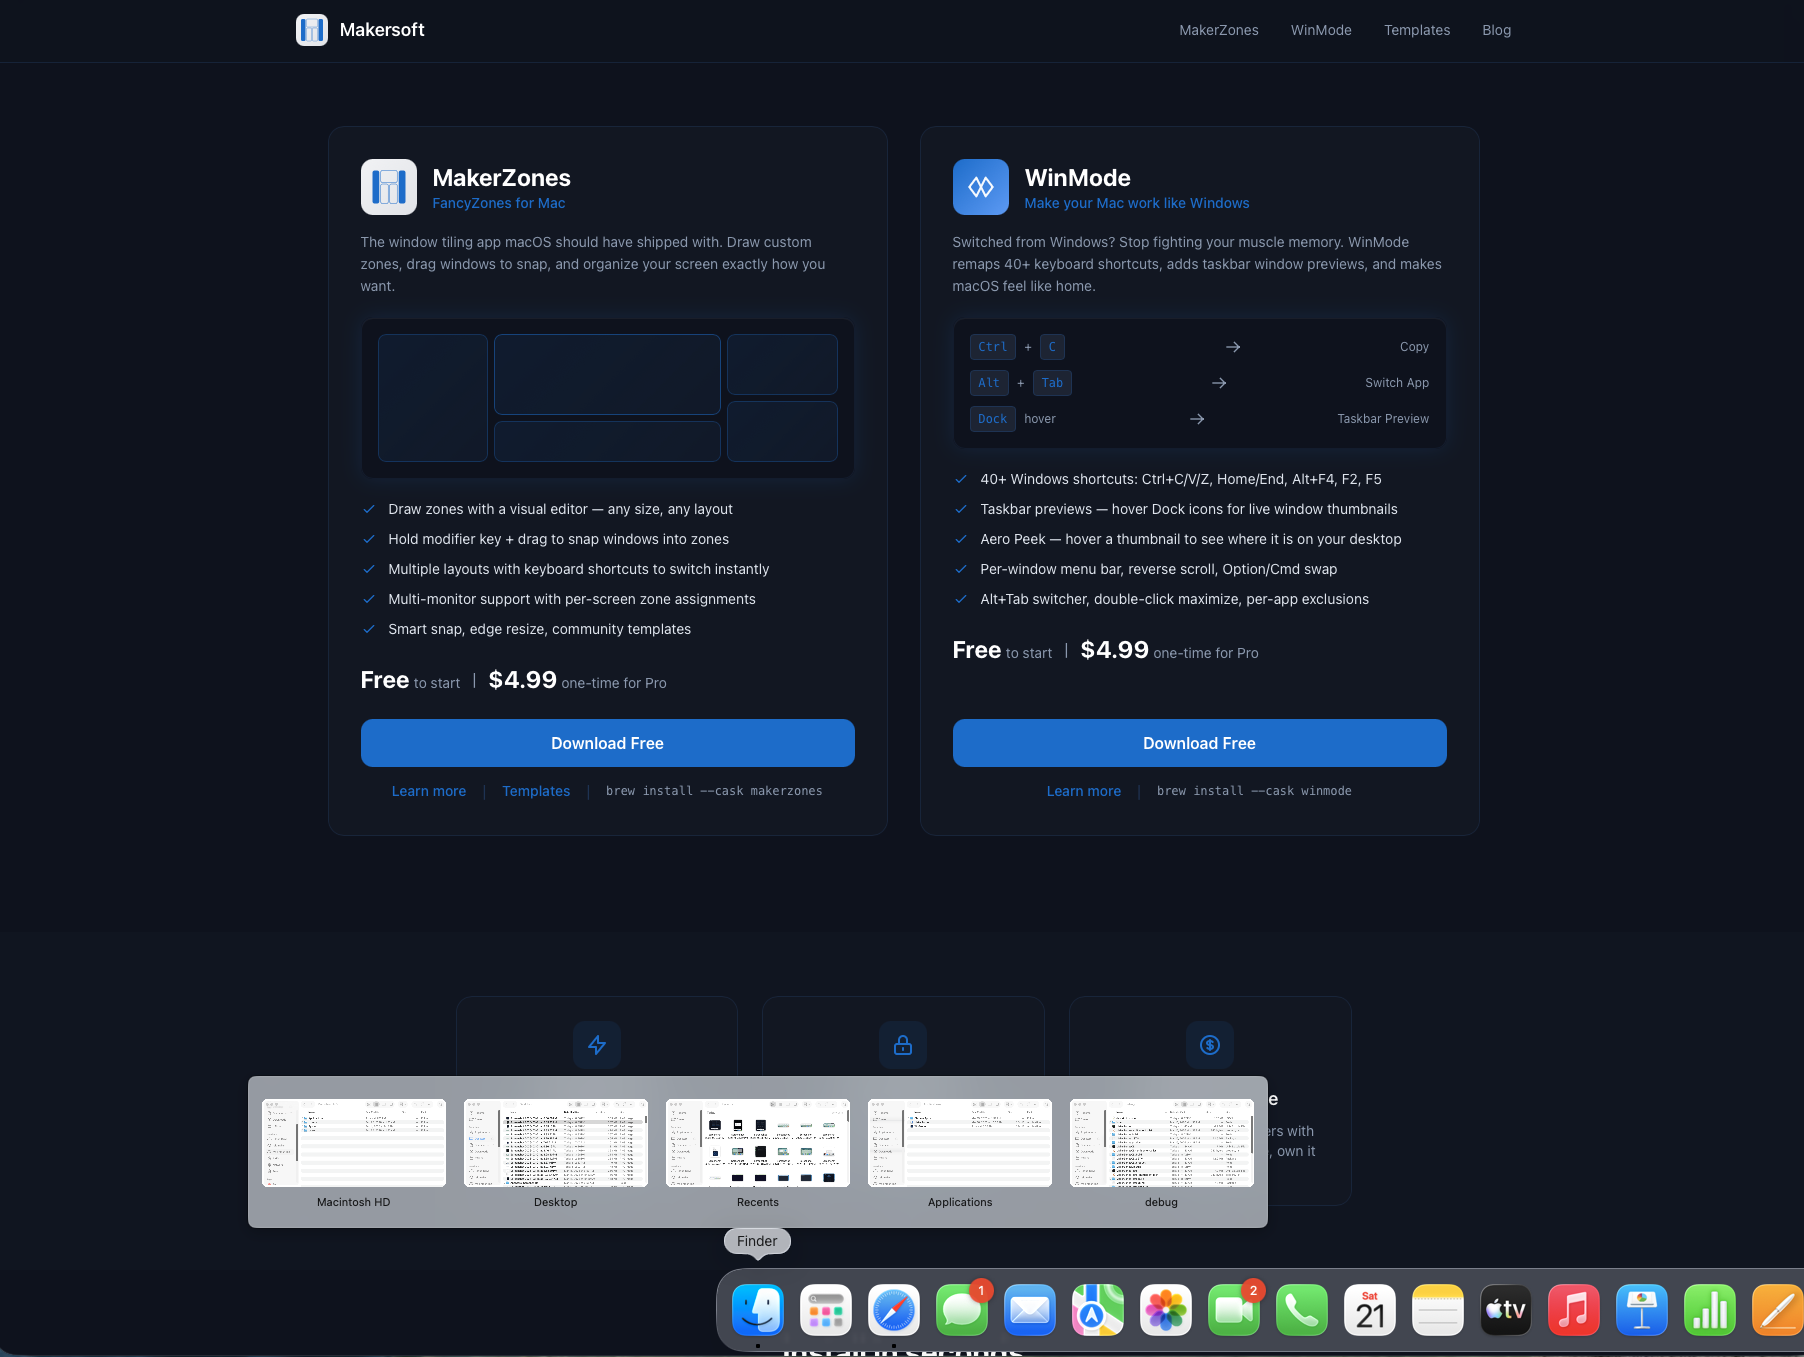
Pair with MakerZones for Window Tiling
WinMode handles keyboard shortcuts. For window management -- snap zones, drag-to-tile, edge snapping -- use MakerZones. It brings the FancyZones workflow from Windows to Mac: draw custom zones, drag windows into them. Together, the two apps cover the full Windows-to-Mac transition.
brew install makersoft-ai/apps/makerzones